Skip to content

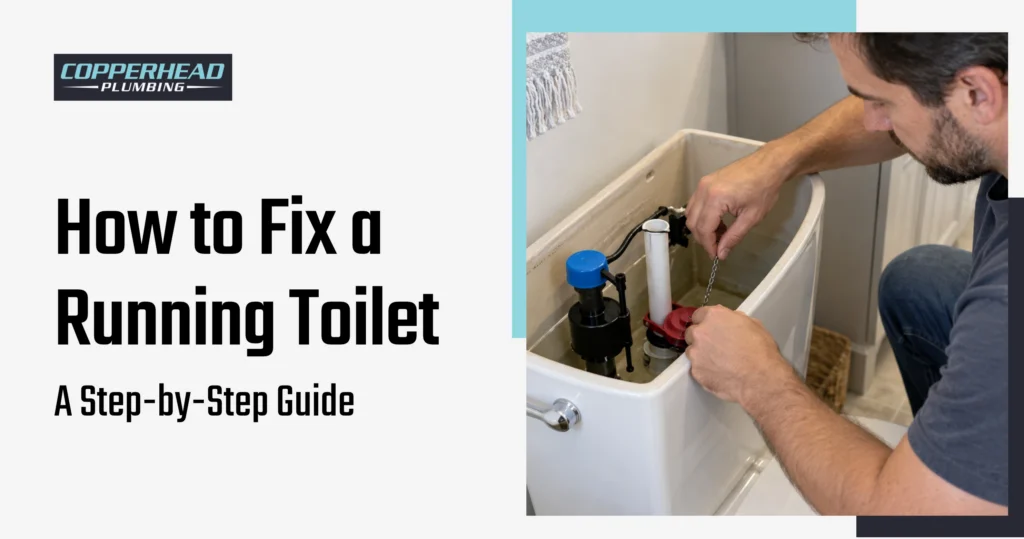
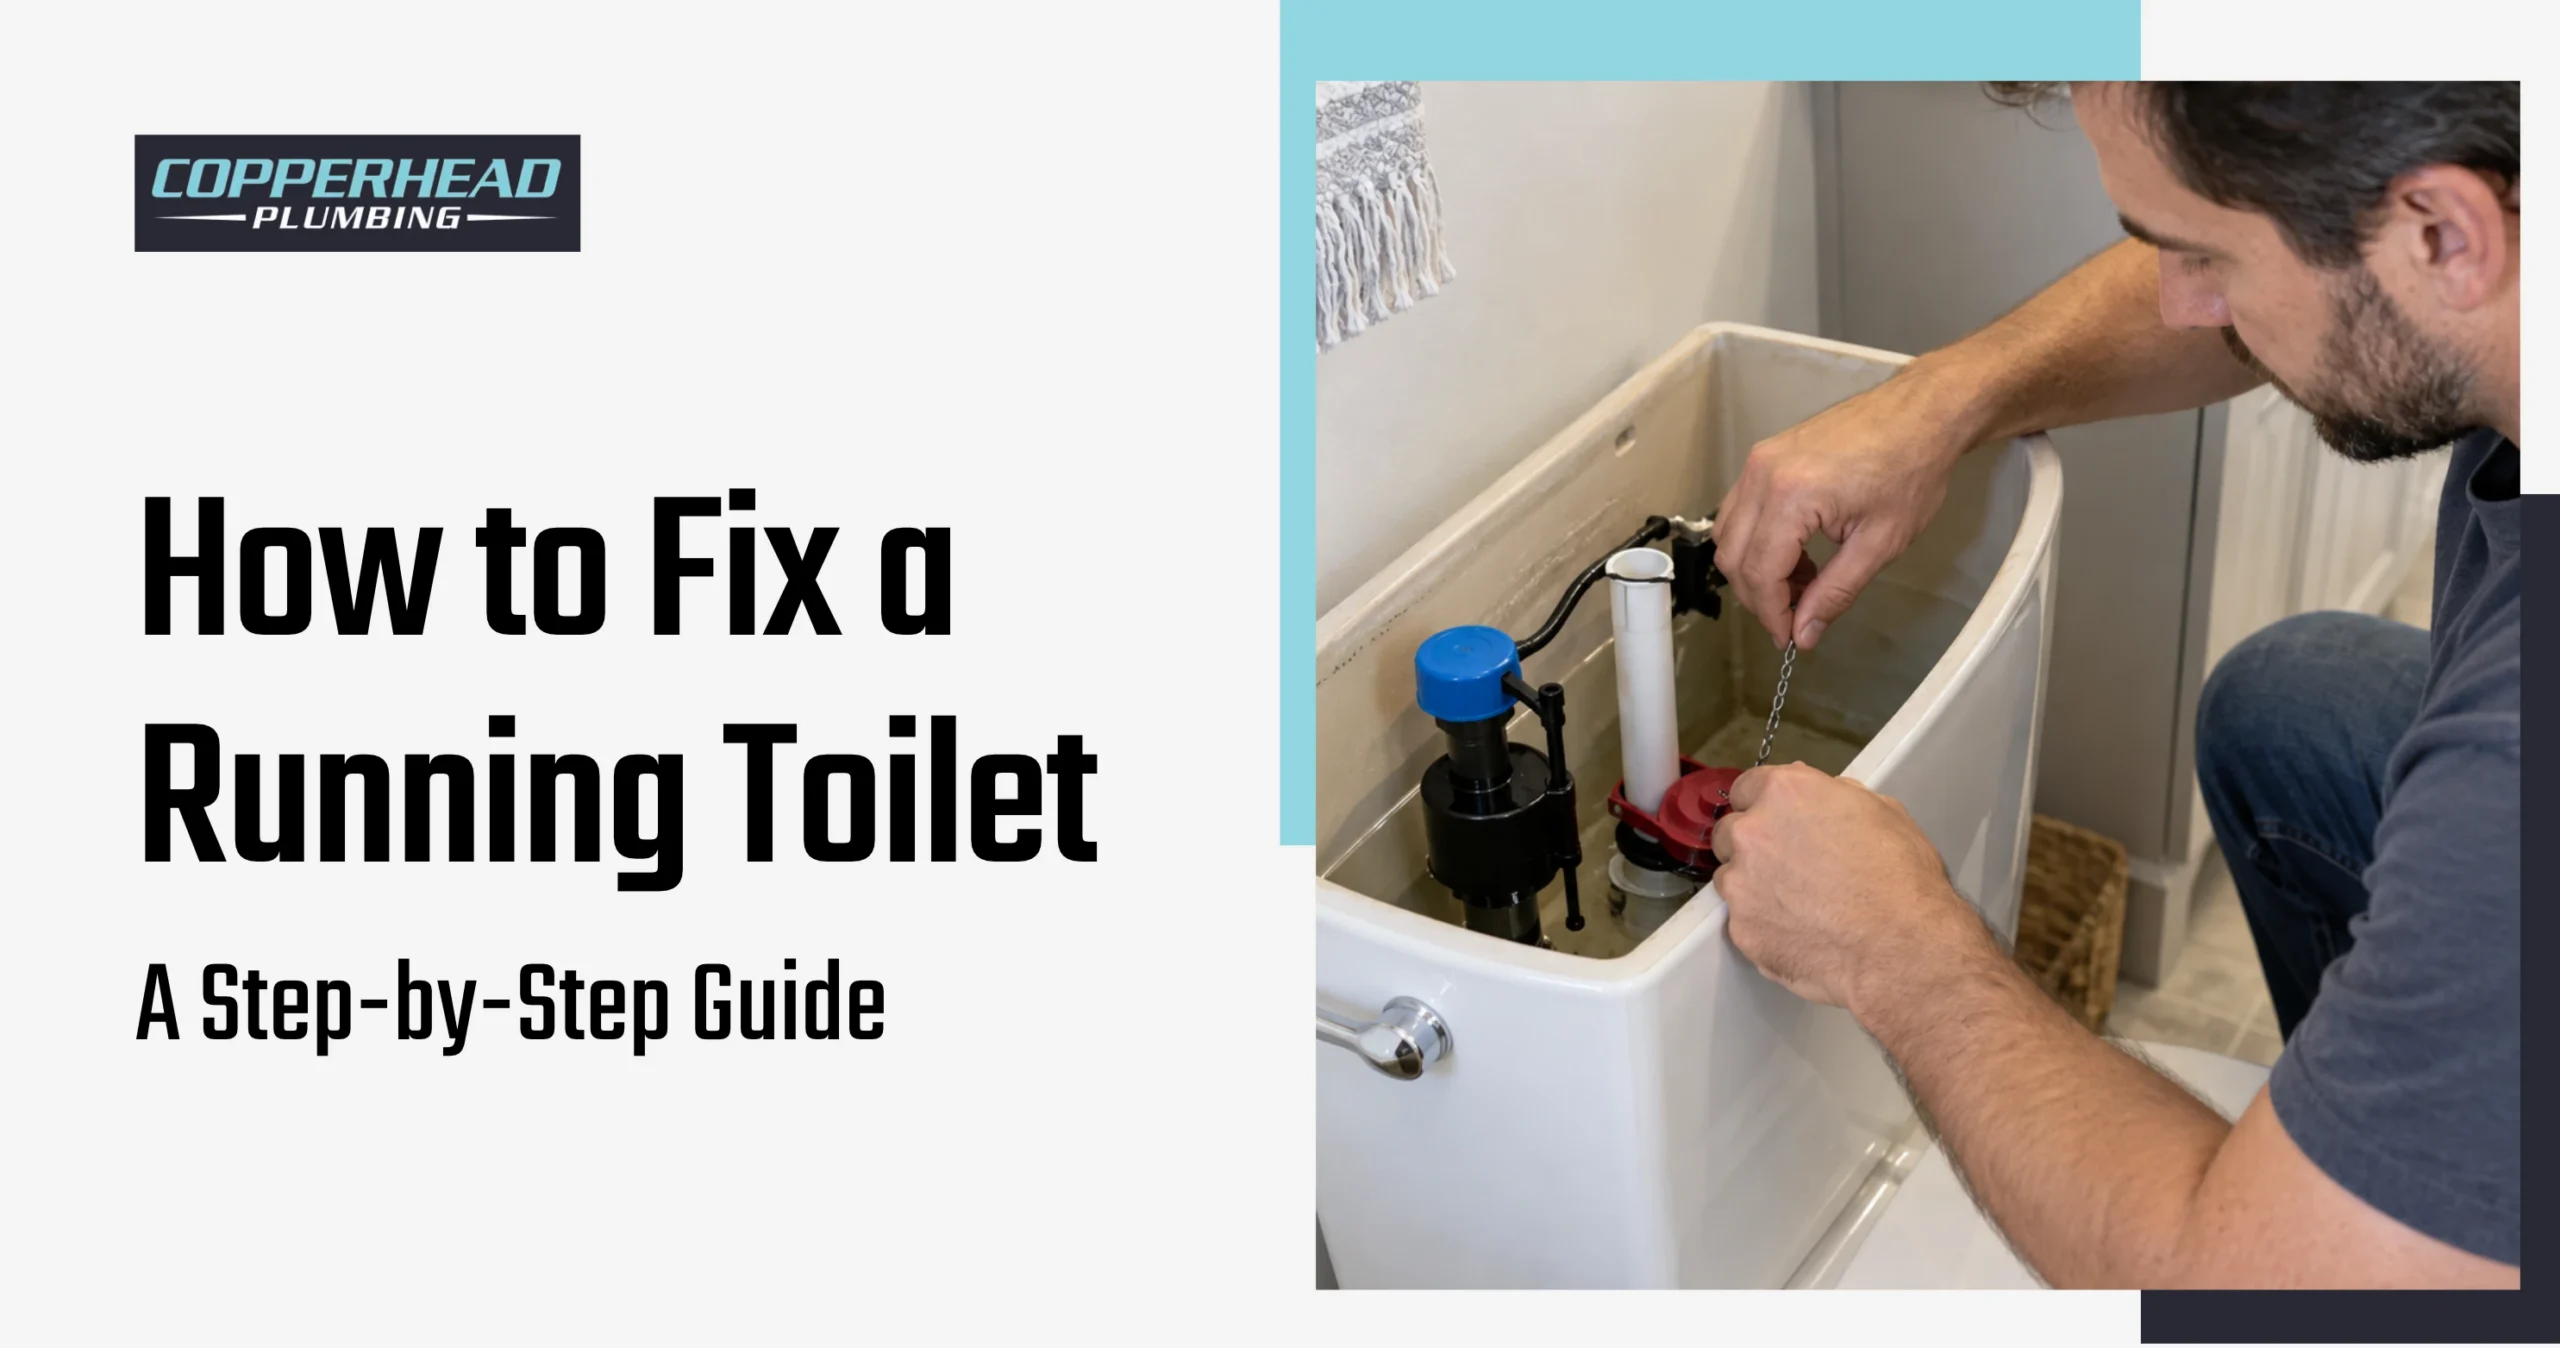
Fixing a running toilet involves identifying the source of continuous water flow, inspecting the toilet flapper, adjusting the chain and float, checking the refill tube, and replacing a faulty fill valve when needed. A toilet typically keeps running when a worn flapper lets tank water leak into the bowl, the float permits excessive filling, or the fill valve fails to stop the incoming water supply. Replacing the faulty component restores proper tank operation, prevents unnecessary water use, and reduces the risk of recurring plumbing problems.
The repair process to fix a running toilet begins by examining the toilet tank and identifying symptoms such as constant hissing, water trickling into the bowl, or random refilling without flushing. It then progresses through water-level inspection, leak testing, flapper adjustment, float calibration, and fill-valve replacement when simpler repairs do not resolve the problem. Testing the toilet after each adjustment confirms whether the tank retains water, the fill valve shuts off correctly, and the flushing mechanism operates without running continuously.
Follow these 10 steps to fix a running toilet:

- Step 1: Turn off the water supply and remove the tank lid.
- Step 2: Identify the type of running, such as hissing, trickling, or random refilling.
- Step 3: Check the water level against the overflow tube.
- Step 4: Run a dye test to confirm a flapper leak.
- Step 5: Adjust the flapper chain.
- Step 6: Clean or replace the flapper.
- Step 7: Adjust the float.
- Step 8: Check the fill tube.
- Step 9: Replace the fill valve.
- Step 10: Test the toilet and confirm the fix.
Step 1: Turn Off the Water Supply and Remove the Tank Lid
Locate the shutoff valve behind or beside the running toilet and turn it clockwise until the incoming water stops. Before closing the valve, briefly observe whether water enters the overflow tube, trickles into the bowl, or produces a continuous hissing sound. Flush the toilet to drain most of the tank water and make the internal components easier to access.
Carefully lift the ceramic tank lid and place it on a stable, padded surface to prevent damage. Examine the flapper, flush valve, chain, float, and fill valve for visible wear, loose connections, or misalignment. Keep the water supply off while you prepare the toilet tank for inspection and repair.
Step 2: Identify the Type of Running (Hissing, Trickling, or Random Refilling)
Listen for unusual sounds and observe water movement inside the toilet tank to identify the malfunctioning component. Temporarily restore the water supply and check for constant hissing near the fill valve, continuous water flow into the overflow tube, or trickling into the bowl. Hissing often indicates ongoing water flow through the fill valve, while trickling commonly suggests a worn flapper or damaged flush valve seat.
Allow the tank to complete its normal refill cycle without flushing again. If the fill valve activates periodically, water may be escaping through the flapper or another internal seal. Compare the symptoms with the tank’s water movement to determine whether the float, fill valve, flapper, or flush valve assembly requires further inspection.
Step 3: Check the Water Level Against the Overflow Tube
Locate the overflow tube inside the toilet tank and compare the water surface with the manufacturer’s marked fill line. Restore the water supply if necessary and allow the tank to refill while observing how high the water rises. The fill valve should stop incoming water at the designated level, below the overflow tube opening.
Watch for water reaching the overflow opening and continuously draining into it. If this happens, check the float position and fill valve operation, as an excessively high float setting or a defective fill valve can prevent proper shutoff. Note whether the water stops at the intended level or continues rising to identify the required adjustment.
Step 4: Run a Dye Test to Confirm a Flapper Leak
Add several drops of food coloring or a toilet leak-detection dye tablet to the toilet tank after the water reaches its normal fill level. Wait until the fill valve stops running before introducing the dye, and avoid flushing during the test. Leave the toilet undisturbed for approximately 15 to 30 minutes so any water escaping through the flapper or flush valve seat can carry the color into the bowl.
After the waiting period, examine the toilet bowl for colored water. If the color appears without flushing, the flapper, canister seal, or flush valve seat is allowing tank water to escape. This confirms an internal tank-to-bowl leak and indicates that the sealing components require cleaning, adjustment, or replacement.
Step 5: Adjust the Flapper Chain
Examine the chain connecting the flush handle lever to the toilet flapper and determine whether it is too tight, excessively loose, or tangled beneath the sealing surface. Shut off the water supply before repositioning the chain. Excessive tension can hold the flapper partly open, while too much slack may prevent the flapper from lifting properly during flushing.
Move the chain hook to a suitable link so the chain retains slight slack when the flapper rests against the flush valve seat. Ensure the chain does not catch on surrounding components or interfere with the sealing surface. Restore the water supply and operate the flush handle several times to verify that the flapper lifts freely and closes completely after each flush.
Step 6: Clean or Replace the Flapper
Examine the rubber seal at the bottom of the toilet tank for cracks, warping, hardening, or mineral buildup that may prevent proper closure. Shut off the water supply, flush the toilet to lower the tank water level, and disconnect the flapper chain from the flush lever. Carefully detach the flapper from its mounting points and inspect the sealing surface for deterioration or debris.
Remove mineral deposits from the flapper and flush valve seat with a soft cloth or sponge, avoiding scratches to the sealing surfaces. If the flapper remains damaged or cannot sit evenly against the valve seat, install a compatible replacement matching the toilet model and flush-valve size. Reattach the chain, restore the water supply, and flush the toilet to confirm that the flapper closes securely without continuous leakage.
Step 7: Adjust the Float
Locate the float mechanism inside the toilet tank and observe its position during refilling to see whether it lets the water level rise too high. Identify whether the toilet uses a ball float attached to a horizontal arm or a cup-style float that moves along the fill valve shaft. Compare the water level with the manufacturer’s marked fill line to determine whether the shutoff position needs correction.
For a ball-float assembly, use the designated adjustment screw or manufacturer-approved mechanism to lower the shutoff level. If the toilet uses a cup-style float, turn its adjustment screw or reposition the sliding mechanism according to the valve design. Let the tank refill and confirm the water stops below the overflow tube opening without continued hissing or excess flow.
Step 8: Check the Fill Tube
Find the small flexible refill tube connecting the fill valve to the overflow tube and inspect its position inside the toilet tank. Check whether the tube is disconnected, kinked, damaged, or inserted too deeply into the overflow opening. A submerged refill tube can create unintended siphoning, while a disconnected tube may prevent the toilet bowl from receiving the correct refill volume.
Secure the refill tube with its designated clip and position the outlet per the fill valve manufacturer’s instructions, maintaining the required air gap above the overflow opening. Straighten any kinks and replace damaged tubing when necessary. Flush the toilet and observe the refill flow to verify that water enters the overflow tube correctly and stops when the fill valve closes.
Step 9: Replace the Fill Valve
Disconnect the water supply and remove the malfunctioning valve assembly from the toilet tank when float adjustments fail to stop continuous refilling. Close the shutoff valve, flush the toilet, and absorb the remaining water with a sponge or towels. Place a bucket beneath the supply connection, disconnect the water supply line, and loosen the mounting nut securing the fill valve underneath the tank.
Insert a compatible replacement fill valve through the tank opening and adjust its height according to the manufacturer’s instructions. Secure the mounting nut without overtightening the plastic fittings, reconnect the water supply line, and attach the refill tube using its designated clip. Restore the water supply, calibrate the float to the marked fill line, and inspect the connections to confirm that the valve shuts off correctly without leaking.
Step 10: Test the Toilet and Confirm the Fix
Flush the repaired toilet several times and watch the tank empty and refill to confirm the running-water problem is resolved. Restore the water supply, then watch to confirm the flapper closes against the flush valve seat, the float rises to its intended position, and the fill valve stops supplying water below the overflow tube opening.
Listen for continuous hissing and inspect the bowl for trickling after the tank finishes filling. If the original problem involved a suspected flapper leak, repeat the dye test without flushing to verify that colored water no longer enters the bowl. Finally, check the supply-line connection and accessible fittings for moisture, and confirm the toilet maintains a stable water level and doesn’t run continuously.
What Causes a Toilet to Keep Running?

A toilet keeps running because of a worn or warped flapper, a flapper chain that is too tight or too loose, a dirty or damaged flush valve seat, a float set too high, a faulty fill valve, an incorrectly positioned fill tube, water levels above the overflow tube, a cracked or damaged overflow tube, or a sticking flush handle or lever. These problems prevent the toilet tank from sealing properly or stopping incoming water, causing water to keep flowing into the bowl.
9 common causes of a toilet that keeps running are:
- Worn or warped flapper
Over time, the rubber flapper can lose flexibility, develop cracks, or become distorted, preventing it from sealing evenly against the flush valve seat. Even a small gap lets stored tank water pass into the toilet bowl after flushing. As the water level drops, the fill valve activates to replace the lost volume, causing repeated refilling or continuous running. Inspecting the flapper for wear and confirming the leak with a dye test helps determine whether you need to replace it.
- Flapper chain that is too tight or too loose
Incorrect chain tension interferes with the flapper’s movement between its open and closed positions. Excessive tension holds the flapper slightly above the flush valve seat, while too much slack may prevent proper lifting or allow the chain to become tangled beneath the seal. Both conditions disrupt normal flushing and can prevent the tank from retaining water. Adjusting the chain to provide slight slack when the flapper is closed restores the intended connection between the flush handle and sealing mechanism.
- Dirty or damaged flush valve seat
Mineral buildup, sediment, scratches, or deterioration around the flush valve seat can prevent the flapper from forming a watertight seal. Because the flapper rests directly against this surface, an uneven or damaged valve seat lets water into the bowl even when the flapper is in good condition. The resulting water loss activates the fill valve repeatedly and may produce a persistent trickling sound. Cleaning the sealing surface removes minor debris, but significant physical damage may require replacing the flush-valve assembly.
- Float set too high
When the float is set above its intended shutoff point, the fill valve keeps supplying water until the tank reaches an excessive level. Water then enters the overflow tube and drains into the toilet bowl, creating continuous flow without an external leak. This condition commonly produces hissing because the fill valve remains open while the excess water escapes. Lowering the float to the manufacturer’s recommended water level allows the valve to shut off before water reaches the overflow opening.
- Faulty or worn fill valve
Internal wear, mineral deposits, or damaged seals can prevent the fill valve from regulating incoming water correctly. A malfunctioning valve may keep supplying water after the float reaches its shutoff position, letting excess water enter the overflow tube. Other fill-valve defects can cause inconsistent refilling, prolonged hissing, or difficulty maintaining a stable tank water level. If adjustment and inspection do not restore proper shutoff, replacing the fill valve is usually necessary to stop the running condition.
- Fill tube positioned incorrectly
Improper placement of the refill tube can interfere with water flow from the fill valve into the overflow tube during the refill cycle. A tube pushed too far down the overflow opening may create siphoning that draws water after the valve should stop supplying it. Conversely, a disconnected or kinked tube can prevent the toilet bowl from receiving the correct refill volume. Securing the tube in its manufacturer-specified position maintains the intended refill path and prevents water movement caused by incorrect installation.
- Water level set above the overflow tube
Excessive tank water level causes continuous running when water rises above the overflow opening and drains directly into the bowl. The overflow tube protects the tank from overfilling, but steady flow into it indicates the fill-control system is not stopping incoming water at the proper level. A high float setting or a fill valve that cannot close completely is often to blame. Checking the water level against the marked fill line helps determine whether the problem needs a float adjustment or a fill-valve replacement.
- Cracked or damaged overflow tube
Physical damage to the overflow tube can create an internal leakage path below its normal opening. Cracks, splits, or deterioration in the tube or flush-valve assembly may allow tank water to drain into the bowl even when the float and fill valve are properly adjusted. The falling water level then activates the fill valve to replace the escaping water, producing repeated refilling. Inspecting the overflow assembly for visible damage helps distinguish this condition from ordinary overfilling caused by an incorrectly positioned float.
- Sticking flush handle or lever
A flush handle that fails to return to its resting position can keep tension on the flapper chain and prevent the flapper from closing completely. Corrosion, mechanical resistance, misalignment, or overtightened mounting hardware may restrict the lever’s movement after flushing. With the flapper held partly open, tank water continues escaping into the bowl while the fill valve supplies replacement water. Correcting the handle alignment or replacing the damaged lever restores free movement and lets the flapper seal properly.
What Causes a Toilet to Make a Constant Hissing Sound?
A toilet makes a constant hissing sound because the fill valve continues supplying water after the tank should have finished refilling. This usually happens when the float is set too high, the fill valve fails to shut off completely, or a worn flapper allows tank water to leak into the bowl. If the water level rises above the overflow tube, excess water continuously drains into the bowl while the fill valve remains open. A leaking flapper can also trigger repeated refilling as the tank loses water. Checking the water level, float position, and fill valve operation helps identify whether the hissing results from overfilling or an internal tank-to-bowl leak.
What Causes Water to Keep Trickling Into the Toilet Bowl?
Water keeps trickling into the toilet bowl because a worn flapper, damaged canister seal, or faulty flush valve seat allows water to leak from the tank. Rubber deterioration, mineral buildup, incorrect flapper chain tension, or an uneven sealing surface can prevent these components from forming a watertight seal. As a result, tank water continuously enters the bowl without flushing, causing the fill valve to replace the lost water. To confirm the leak, perform a dye test by adding food coloring to the tank and checking whether colored water appears in the bowl without flushing.
Why Does a Toilet Randomly Refill Without Being Flushed?
A toilet randomly refills without being flushed because water slowly leaks from the tank, triggering the fill valve to restore the lost water. This problem, commonly called ghost flushing, usually results from a worn flapper, deteriorated canister seal, dirty flush valve seat, or another internal leak. As the tank water level drops, the fill valve opens automatically and shuts off once the tank refills, repeating the cycle as water continues escaping into the bowl. To identify the source, perform a dye test and check whether colored water appears in the bowl without flushing.
Why Does Water Keep Flowing Into the Overflow Tube?
Water keeps flowing into the toilet overflow tube because the float is set too high or the fill valve fails to shut off when the tank reaches its designated water level. An excessively high float setting lets water rise above the overflow opening, while a faulty fill valve may keep supplying water even when the float reaches the correct position. The overflow tube directs excess water into the toilet bowl, preventing the tank from overflowing but wasting water continuously. To identify the problem, compare the tank water level with the manufacturer’s marked fill line and check whether the fill valve stops supplying water at the correct level.
What Tools and Materials Do You Need to Fix a Running Toilet?
Repairing a running toilet requires basic plumbing tools such as an adjustable wrench, screwdrivers, pliers, a bucket, and absorbent towels, along with replacement materials such as a toilet flapper, fill valve, or flapper chain when existing components are damaged. The specific tools and materials depend on whether the problem involves a leaking flapper seal, an incorrect float setting, a faulty fill valve, or a damaged water supply connection. Having the right equipment ready before you start reduces unnecessary disassembly and supports accurate adjustment, secure installation, and proper leak testing.
Tools You Need to Fix a Running Toilet
Tools for fixing a running toilet include an adjustable wrench, flathead and Phillips screwdrivers, pliers, a bucket, a sponge or old towels, rubber gloves, and scissors or a utility knife. These tools help remove damaged components, adjust tank mechanisms, contain residual water, and inspect fittings for leaks. Minor repairs such as adjusting a flapper chain may require no tools, while replacing a fill valve typically involves disconnecting the water supply and removing mounting hardware.
7 tools you need to fix a running toilet:
- Adjustable wrench
An adjustable wrench provides the grip needed to loosen and tighten accessible water supply fittings and fill-valve mounting connections. When replacing a fill valve, controlled wrench pressure helps disconnect the supply line without damaging the fitting. Avoid excessive force on plastic mounting nuts because overtightening can crack the material and create leaks.
- Flathead and Phillips screwdrivers
Certain toilet floats, flush handles, and mounting assemblies use adjustment screws that require a flathead or Phillips screwdriver. Using the right screwdriver lets you adjust precisely without stripping screw heads or damaging the mechanism. Other fill-valve designs use sliding clips or hand-operated controls, so the required tool depends on the specific valve.
- Pliers
Pliers make small clips, chain links, and hard-to-grip fittings easier to handle during toilet repairs. They are especially useful for repositioning a flapper chain or removing a damaged connection from the flush lever. Avoid applying excessive pressure to plastic components, as the material can crack or deform.
- Bucket
Residual water often remains in the supply line and toilet tank even after you close the shutoff valve and flush the toilet. Placing a bucket beneath the supply connection catches this water during fill-valve removal and keeps it from spreading across the bathroom floor. A bucket also provides a convenient container for wet components during disassembly.
- Sponge or old towels
Removing the remaining water from the bottom of the toilet tank makes internal components easier to access and reduces spills during valve replacement. A sponge absorbs water that will not drain with a normal flush, while old towels protect the surrounding floor and help dry fittings before you inspect for leaks. Dry surfaces also make small external leaks easier to identify after you restore the water supply.
- Rubber gloves
Working inside a toilet tank involves contact with wet surfaces, mineral deposits, and deteriorated rubber components. Rubber gloves protect the hands during flapper removal, valve inspection, and cleaning of the flush valve seat. They also provide a more comfortable grip when handling damp replacement parts.
- Scissors or utility knife
Replacement refill tubing may require trimming to the correct length during installation of a new fill valve. Scissors or a utility knife let you cut the tubing cleanly when the manufacturer’s instructions require an adjustment. Keeping the cut straight and avoiding damage to nearby components helps maintain a secure refill-tube connection.
Materials for Fixing a Running Toilet
Materials needed to repair a running toilet include a compatible replacement flapper, fill valve, flapper chain, food coloring or dye tablets, paper towels, and a replacement toilet supply line when the existing connection is damaged. Each material serves a specific repair or diagnostic purpose, and not every running toilet requires replacement parts.
Main materials required for fixing a running toilet are:
- Replacement flapper
A damaged flapper cannot maintain the watertight seal needed to hold water inside the toilet tank. Installing a compatible replacement corrects leakage caused by cracked, warped, or hardened rubber. The replacement must match the toilet’s flush-valve size and design because an incompatible flapper may not close properly or deliver the intended flush performance.
- Replacement fill valve
If a fill valve keeps admitting water after you adjust the float, replacing the complete valve assembly can restore normal tank refilling and shutoff. The new valve must fit the tank opening, accommodate the toilet’s water level, and connect securely to the existing supply line. Correct installation prevents continuous overflow and maintains consistent water levels between flushing cycles.
- Replacement flapper chain
Corroded, broken, kinked, or tangled chains can interfere with the connection between the flush handle and flapper. A replacement chain restores the lifting mechanism when the original chain cannot be adjusted reliably. Proper chain length is essential: too much tension prevents sealing, while too much slack can interfere with flushing.
- Food coloring or toilet leak dye tablets
Detecting a slow tank-to-bowl leak is easier when you add colored dye to the tank water. If the color appears in the toilet bowl without flushing, water is escaping through the flush-valve sealing assembly. This inexpensive diagnostic material helps confirm whether a flapper or valve-seat problem is responsible for repeated refilling.
- Paper towels
Dry paper towels help identify moisture around supply-line fittings, valve connections, and accessible areas of the toilet tank. After restoring the water supply, press a clean towel against a connection to reveal slight seepage that may be hard to see. Paper towels also help clean small parts and remove residual water during the repair.
- Replacement toilet supply line
Cracking, corrosion, damaged connection nuts, or visible leakage may require replacement of the flexible supply line connecting the shutoff valve to the toilet tank. A damaged supply line causes an external leak rather than an internal running condition, so replace it only after inspection confirms a defect. Choosing the right connector size and length helps create a secure, leak-resistant connection.
How Much Water Can a Running Toilet Waste?
A running toilet can waste 200 gallons of water or more per day, depending on the leak rate and how long the problem continues. The U.S. Environmental Protection Agency’s WaterSense Fix a Leak Week guidance identifies running toilets as a source of substantial water loss. A worn flapper can cause gradual leakage into the bowl, while a faulty fill valve may allow continuous water flow. At a loss of 200 gallons per day, a running toilet wastes approximately 1,400 gallons per week or 6,000 gallons over 30 days. Repairing the flapper, adjusting the float, or replacing the fill valve can stop the leak and prevent further water waste.
How Can a Running Toilet Affect Your Water Bill?
A running toilet increases your water bill by wasting water that the meter records, even when it flows directly into the bowl. Costs depend on the leak rate, local water rates, billing period, and sewer charges. According to the EPA’s Fix a Leak Week program, fixing household leaks can save homeowners approximately 10% on their water bills.
For example, a toilet wasting 200 gallons daily consumes an additional 6,000 gallons over 30 days. At an illustrative rate of $5 per 1,000 gallons, this adds approximately $30 to the monthly water bill, excluding fixed fees and sewer charges. Repairing the leak prevents further water waste and unnecessary expenses.
What Should You Do If Your Toilet Is Still Running After These Fixes?
If a toilet keeps running after you try the recommended fixes, the problem may be a damaged flush-valve assembly, a cracked overflow tube, an incompatible replacement part, or another internal leak. Recheck whether water enters the overflow tube or flows directly into the bowl, as these symptoms indicate different mechanical failures. Verify that all replacement components match the toilet model and that the fill valve, flapper, chain, and refill tube are correctly installed. If the problem persists, contact a professional plumber for further diagnosis and appropriate repair or replacement.
Signs the Problem Needs a Professional Plumber
You need a professional plumber when a toilet keeps running after basic repairs, the shutoff valve does not work, the overflow or flush-valve assembly is damaged, water leaks outside the toilet tank, fittings are badly corroded, several internal components are failing, or you cannot identify the cause. These problems may require specialized diagnosis, extensive disassembly, or replacement of damaged plumbing components.
7 signs that a running toilet needs a professional plumber are:

- The Toilet Continues Running After Basic Repairs
Check whether the toilet still runs after replacing the flapper, adjusting the chain and float, and inspecting the fill valve. Persistent running may indicate a damaged flush valve seat, cracked overflow tube, or incompatible replacement part. Professional inspection can identify the underlying problem and prevent unnecessary repairs.
- The Shutoff Valve Does Not Work
Turn the toilet shutoff valve clockwise and check whether incoming water stops completely. If water continues flowing, corrosion, worn seals, or internal damage may prevent proper shutoff. Replacing the valve may require shutting off the home’s main water supply before further repairs.
- The Overflow or Flush-Valve Assembly Is Damaged
Examine the overflow tube and flush-valve assembly for cracks, splits, or deterioration that allow tank water to escape. Damaged assemblies may require tank removal and replacement of mounting hardware. A plumber can install compatible components and restore proper sealing without damaging the ceramic tank.
- Water Leaks Outside the Toilet Tank
Inspect the supply line, tank bolts, and exterior connections for moisture or dripping water. Worn washers, loose fittings, damaged supply lines, or cracked ceramic can cause external leaks. Prompt professional inspection helps identify the source and prevent water damage to surrounding surfaces.
- Fittings Are Badly Corroded
Check mounting nuts, supply-line connections, and flush-valve hardware for significant corrosion before removing components. Seized fittings can damage plastic connections or crack the ceramic tank when excessive force is applied. Professional removal reduces the risk of broken hardware and additional leaks.
- Several Internal Components Are Failing
Inspect the toilet tank for multiple problems, including a deteriorated flapper, faulty fill valve, damaged flush lever, or cracked overflow tube. These failures can disrupt flushing and water-level control. A plumber can determine whether replacing individual components, rebuilding the tank assembly, or installing a new toilet is more practical.
- The Cause Cannot Be Identified
Monitor several toilet refill cycles to identify intermittent leaks or unusual water movement. Hidden flush-valve damage, slow internal leaks, or incorrectly installed parts may require further testing. A professional plumber can diagnose the problem and determine whether repair or replacement is necessary.
When Should You Replace the Toilet Instead of Repairing It?
Replace a toilet instead of repairing it when it is old and needs frequent repairs, the tank or bowl is cracked, replacement parts are hard to find, several internal components are failing, or the toilet uses significantly more water than newer models. These conditions can make continued repairs costly, unreliable, or inefficient.
5 signs that replacing a toilet may be better than repairing it are:
- Toilet Is Old and Frequently Needs Repairs
Review the toilet’s repair history for recurring flapper leaks, fill-valve failures, and flush-handle problems. Frequent breakdowns can increase maintenance costs and indicate aging components. Consider replacement if repairs no longer provide reliable operation.
- Tank or Bowl Is Cracked
Inspect the toilet tank and bowl for cracks that cause leakage or weaken the ceramic structure. Unlike faulty internal components, cracked ceramic generally cannot be repaired through routine part replacement. Replace the damaged tank or toilet if structural damage affects safe operation.
- Replacement Parts Are Difficult to Find
Check whether compatible flappers, flush valves, and fill-valve components are available for the toilet model. Discontinued or manufacturer-specific parts can make repairs difficult, while incompatible replacements may cause continued running. Consider replacing the toilet if suitable parts are unavailable.
- Several Internal Components Are Failing
Examine the flapper, fill valve, flush valve seat, and overflow tube for multiple failures. Replacing several damaged components can increase repair costs, particularly when tank removal is necessary. Compare the total repair expense with the cost of installing a new toilet.
- Toilet Uses Much More Water Than Newer Models
Compare the toilet’s water consumption with modern water-efficient models. According to the EPA’s WaterSense Labeled Toilets fact sheet, replacing inefficient toilets with WaterSense-labeled models can reduce household toilet water use by 20% to 60%, saving approximately 13,000 gallons annually for an average family. Consider replacement when excessive water consumption and recurring repairs make the existing toilet inefficient.